
Prepare your device and USIM card.
Check Compatible Device
Please check whether your device supports USIM.
📌 To see the official list of USIM-supported devices announced by each carrier, please click the button for your carrier below.
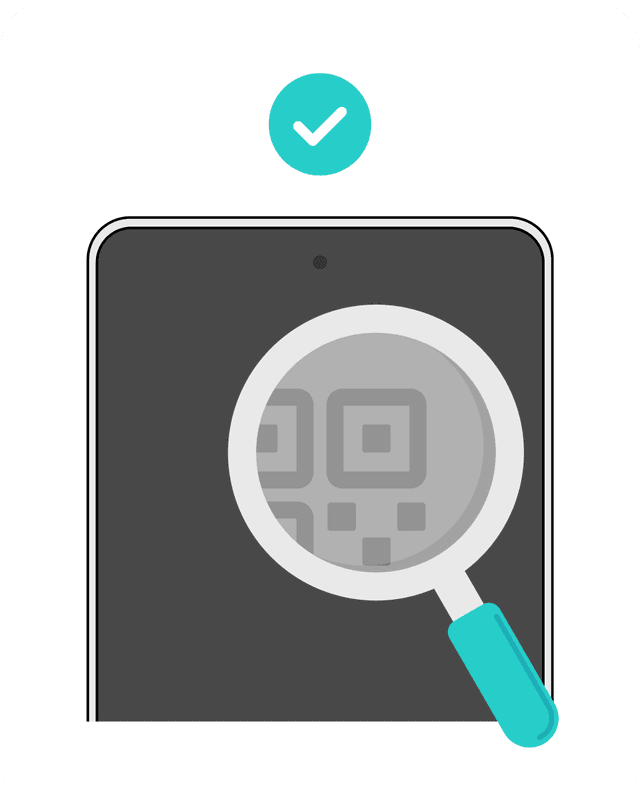
SIM Unlock Check
If your device is SIM-locked, USIM will not work. Please make sure your device is unlocked.
Go to Settings → General → About. If 'No SIM restrictions' is displayed under Carrier Lock, your device is unlocked. If a specific carrier name is shown, the device is locked to that carrier.
📌 To check SIM lock information provided by each carrier, please click the corresponding carrier button below.
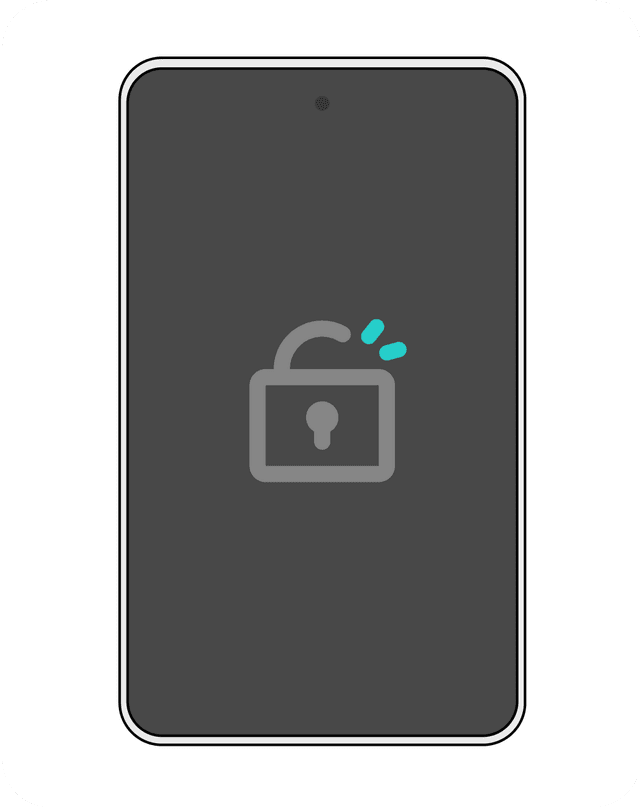
Prepare USIM
Please prepare the USIM that was delivered to you after applying for activation.

Turn off the power, remove the SIM tray, and insert the USIM.
Turn Off Device
Please turn off the power to safely install the USIM.
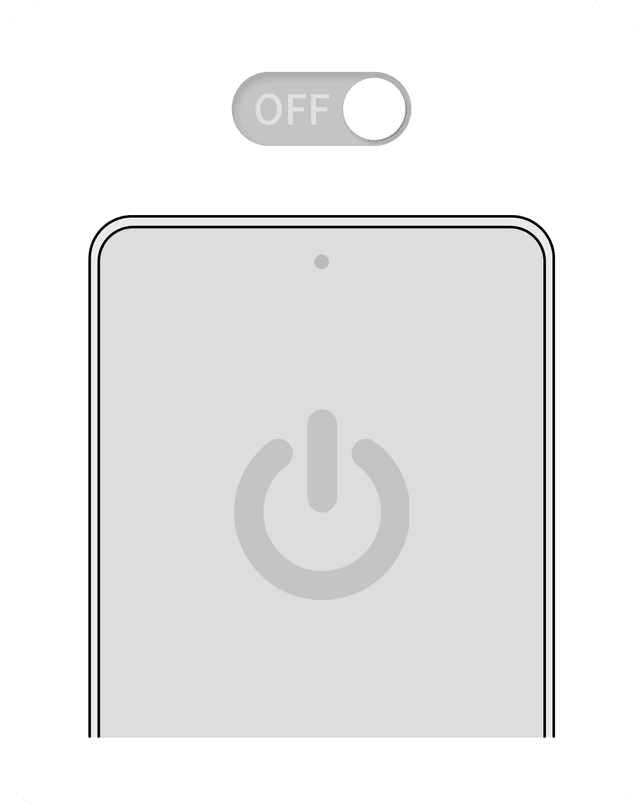
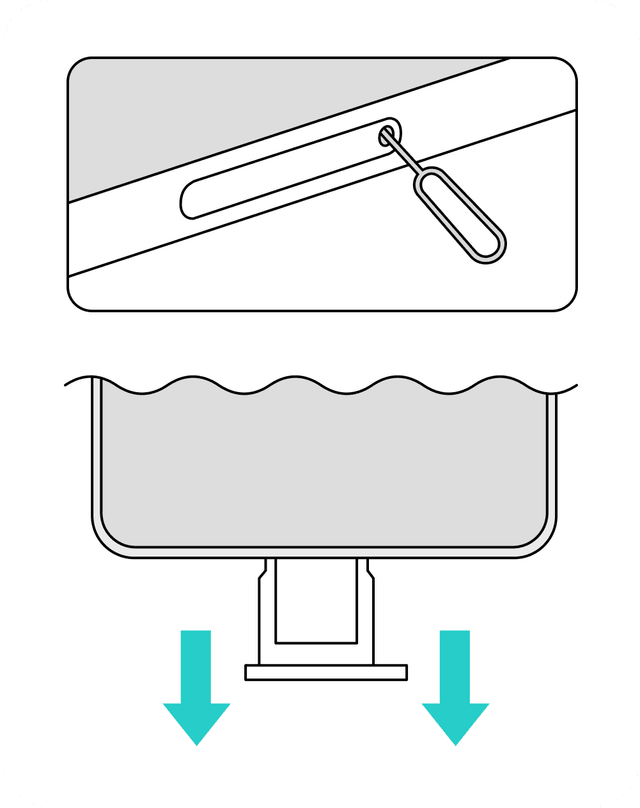
Remove SIM Tray
Insert the SIM eject pin into the small hole on the side or bottom of the device and gently press to remove the tray.
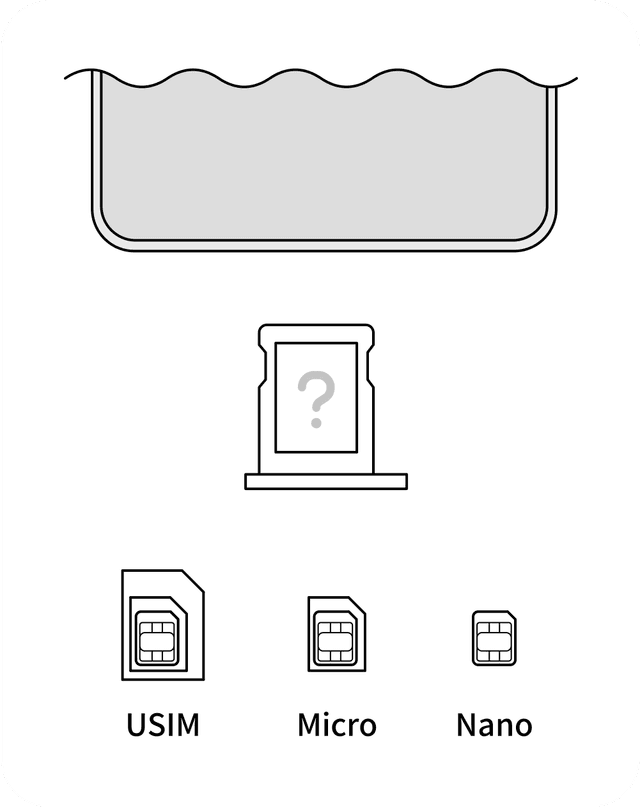
Check USIM Type
Check the USIM size that fits your device tray and separate it accordingly. Some devices do not support nano SIMs, so please check the SIM slot directly or refer to the manufacturer’s website.
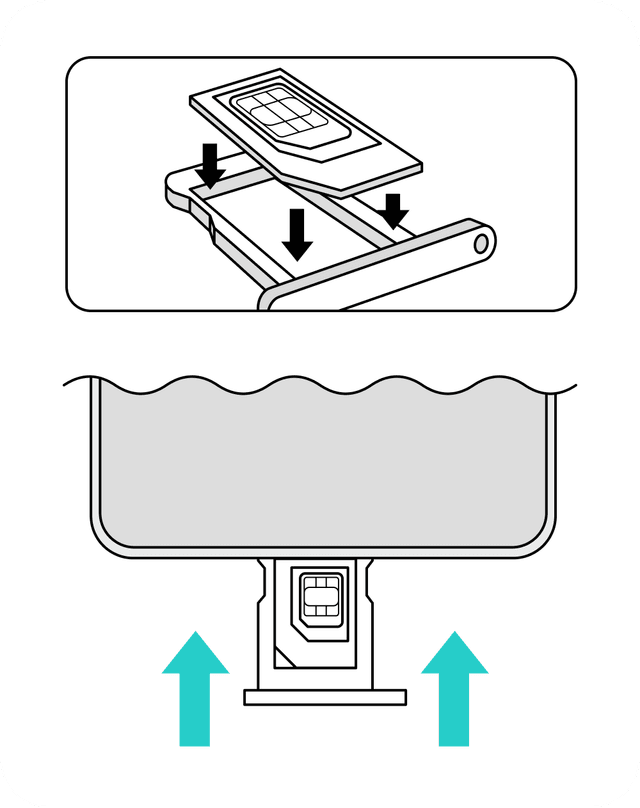
Insert USIM
Insert the USIM according to the corner notch, then gently push the tray all the way in without tilting it.
Be sure to configure the APN for data connectivity!
Network Setup
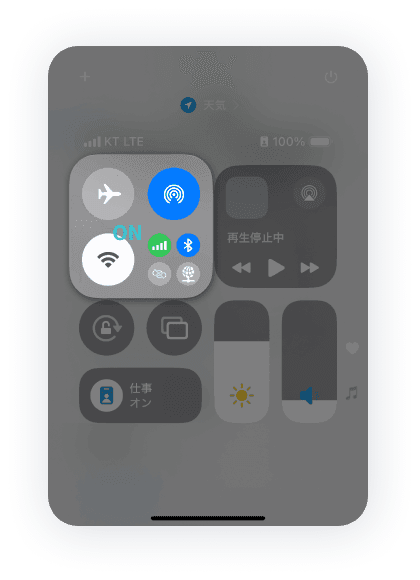
From the Home screen, swipe down from the top-right corner to open the Control Center, then turn on Wi-Fi. Make sure your device is connected to the network before proceeding.
QR Code Scan
Click the button for your carrier below to display the QR code, then scan it using the Camera app on your device.
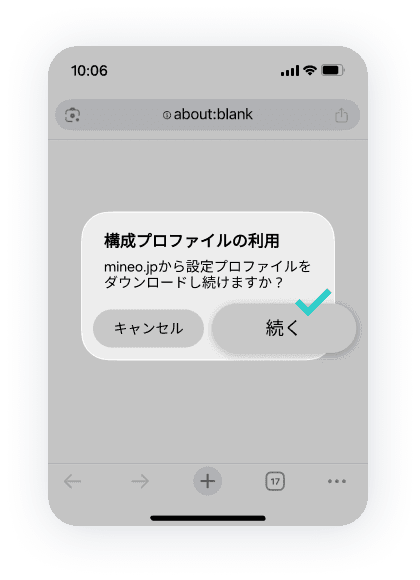
Start Download
When the download prompt appears, tap 'Continue'.
This message may not appear depending on your iOS version.
Allow Download
When the download permission prompt appears, tap 'Allow'.
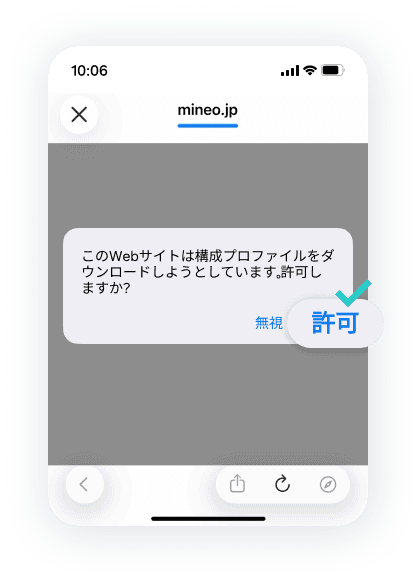
Done
Once the download is complete, tap 'Close' to finish preparing for installation.
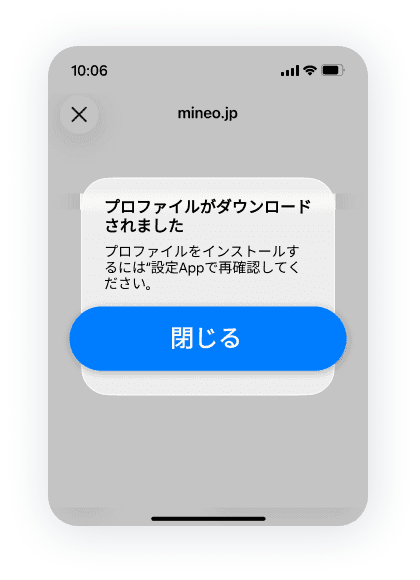
Go to the Installation Screen
Go to Settings → General → VPN & Device Management → Downloaded Profile, then select the downloaded profile to open the installation screen.
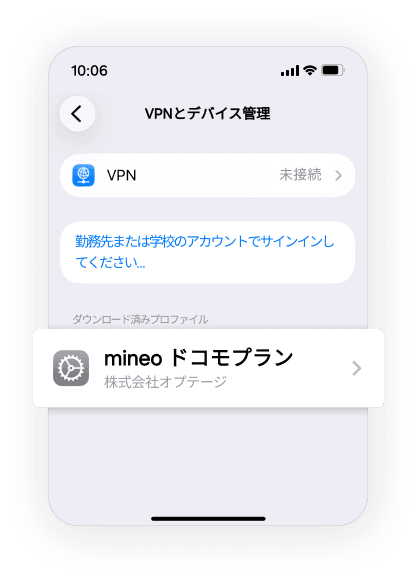
Install the Profile
Tap 'Install' in the upper-right corner of the installation screen.
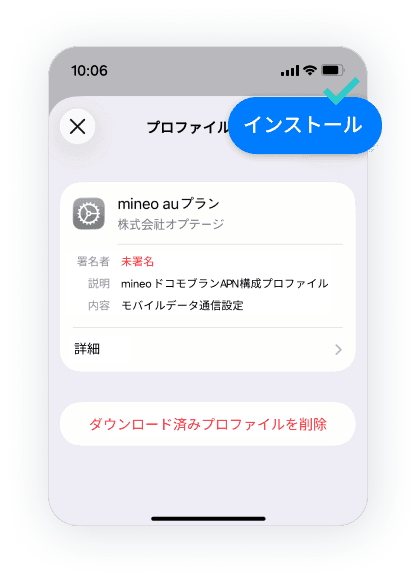
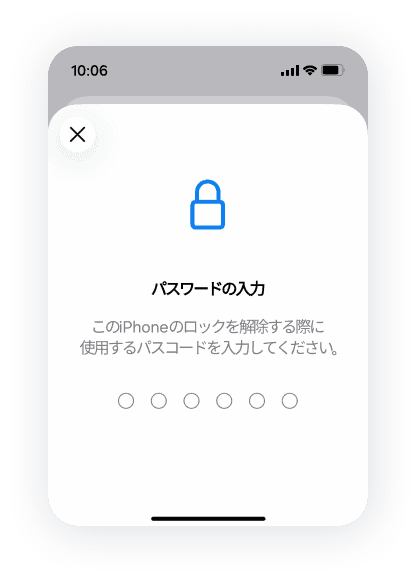
Enter Your Passcode
When prompted, enter the device passcode you have set to install the profile.
This screen will not appear if you have not set a device passcode.
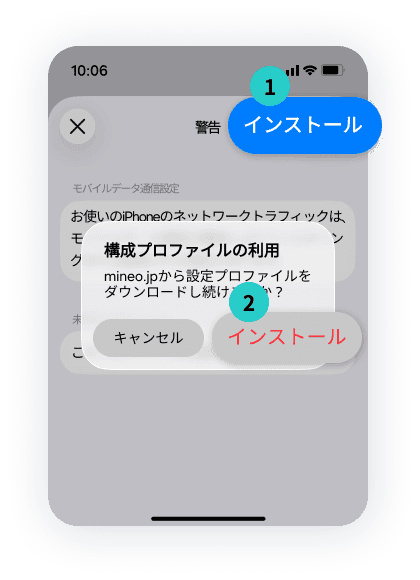
Allow Installation
On the warning screen, tap 'Install' in the upper-right corner. When the profile installation message appears, select 'Install'.
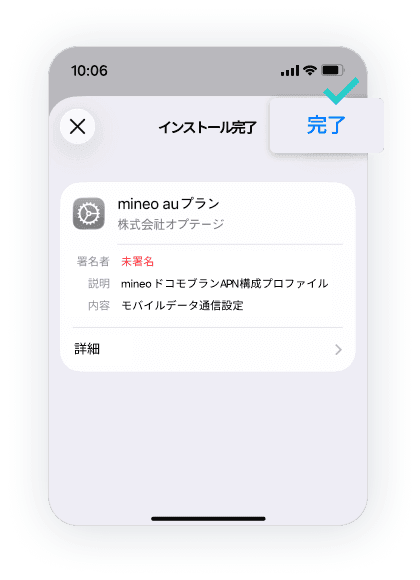
Done
Once installation is complete, you'll return to the installation screen where 'Profile Installed' is displayed. Tap 'Done' in the upper-right corner.
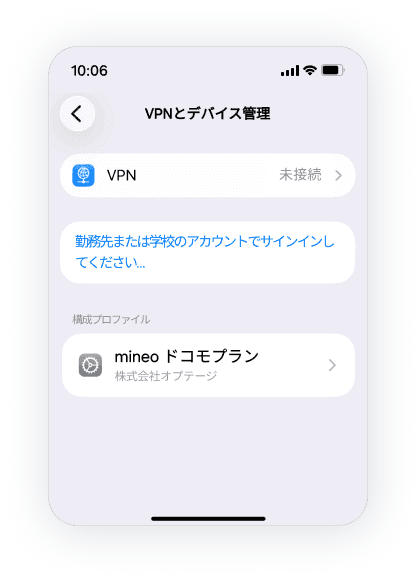
Verify Installation
Go to VPN & Device Management and verify that the profile appears under Configuration Profile.
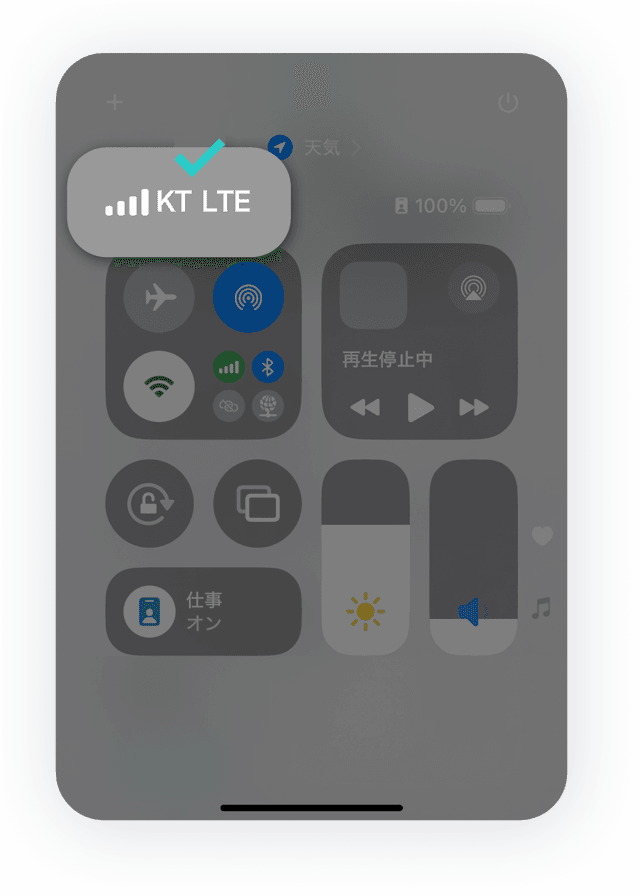
Check the connection in the status bar.
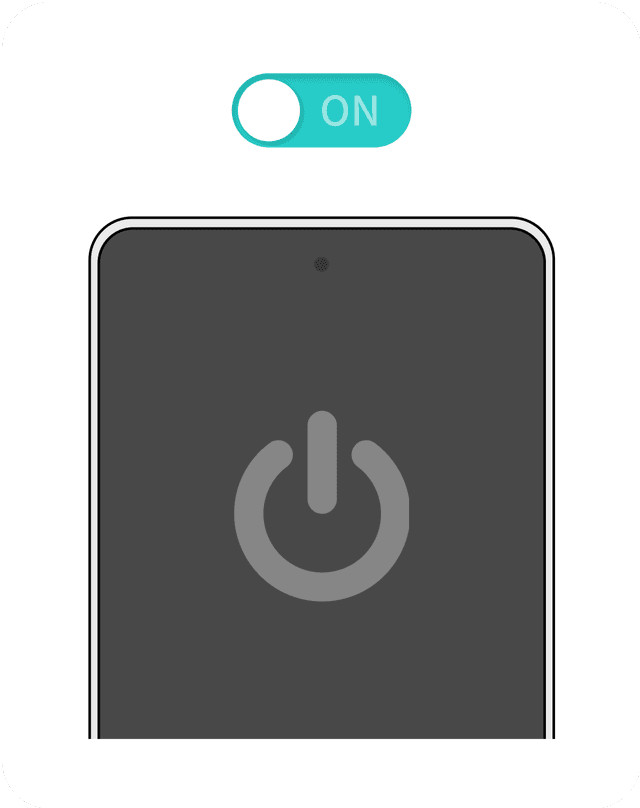
Turn On Device
Turn on the power and wait until the device is fully turned on.
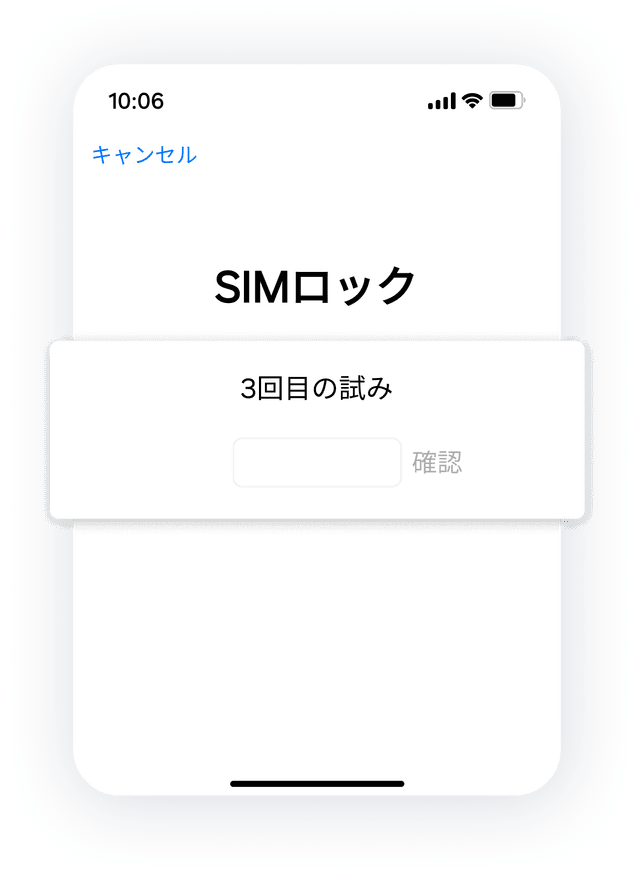
Enter Network Password
This applies only if your carrier is au. Otherwise, please proceed to the next step.
Please enter the 4-digit network password you set during activation.
Do not guess the password.
If entered incorrectly multiple times, the SIM may be permanently locked, and you will not be able to make calls or use cellular data until you receive a new SIM.
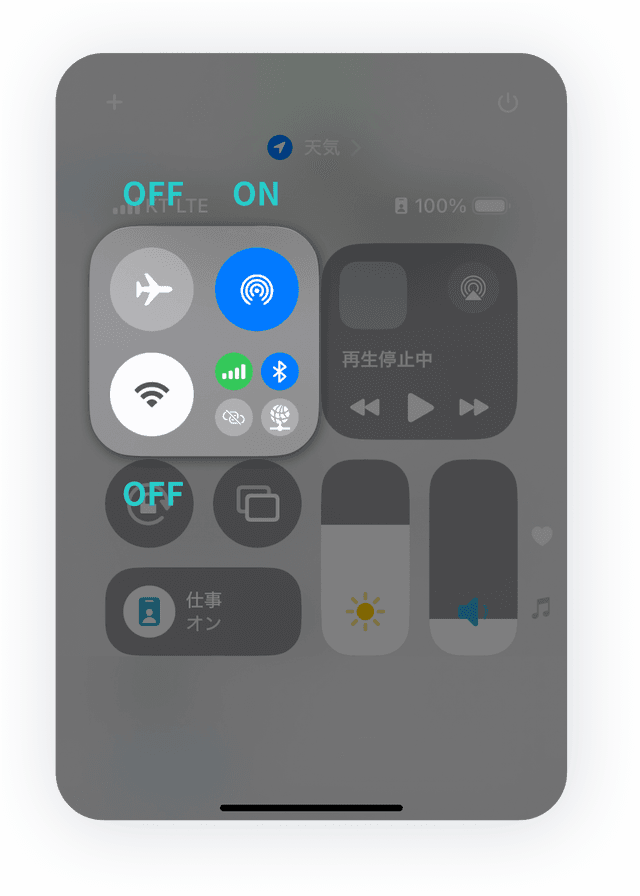
Network Setup
From the home screen, swipe down from the top-right corner to open the control panel, then change the network settings as follows.
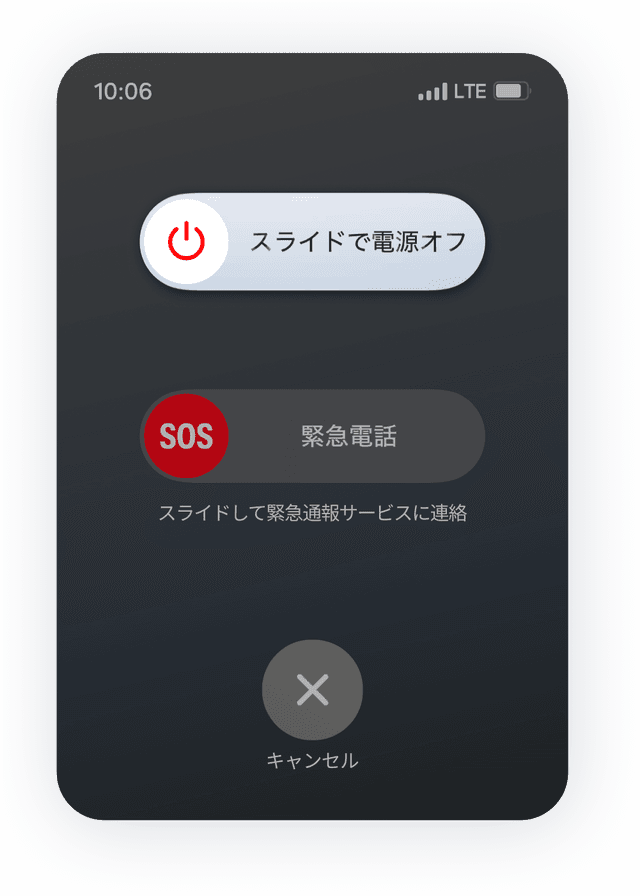
Reboot Device
Turn the power off and on at least twice.
Check Status Bar
Check that the carrier name (such as NTT DOCOMO or SoftBank) and data connection icon (4G, 5G, LTE) are displayed correctly at the top of the screen.
Connection Test & Completion
Try making a call or accessing the internet. If everything works properly, the activation process is complete.
Initial Setup FAQ